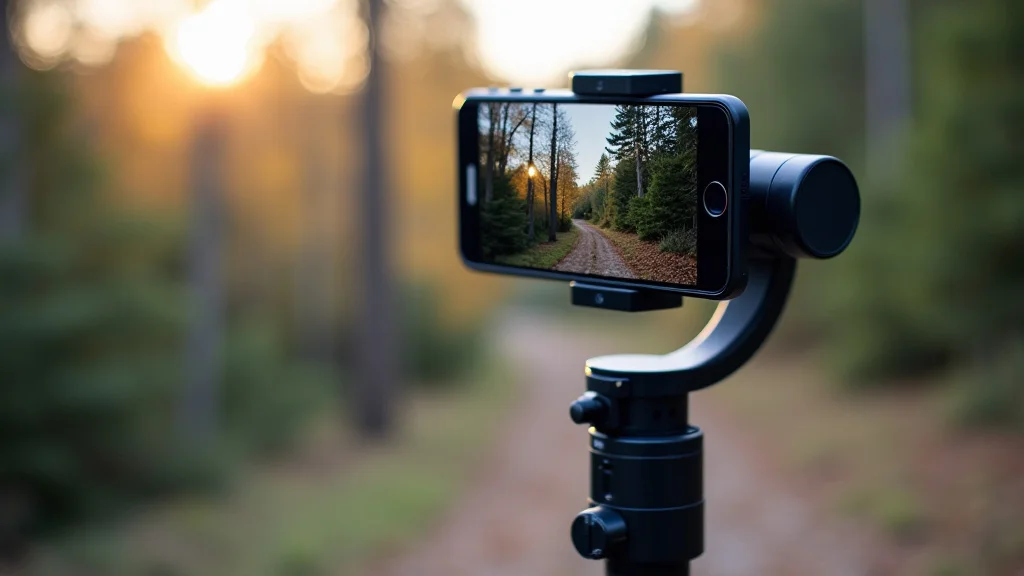
Getting a smart phone gimbal might seem a bit tricky at first. There are buttons and settings that can look confusing. But don’t worry!
It’s actually quite simple once you know the steps. We’ll go through everything easily, step by step. Get ready to make your videos look amazing.
Key Takeaways
- You will learn what a smart phone gimbal is and why it’s helpful.
- We will cover how to set up your gimbal correctly for the first time.
- You will discover basic movements and how to control your gimbal.
- We will explore common shooting modes and when to use them.
- You will find tips to improve your video quality with a gimbal.
- We will also clear up some common misunderstandings about gimbals.
What Is A Smart Phone Gimbal And Why Use One
A smart phone gimbal is a device that helps you record stable videos. It uses motors and sensors to keep your phone steady, even when you move. This means no more shaky footage!
It’s like having a professional camera crew for your phone videos. They are great for travel vlogs, sports, and just everyday memories.
How A Gimbal Works
A gimbal has a motor that detects movement. It then moves in the opposite direction to counteract that movement. This keeps your phone perfectly still.
It has three axes: pitch, roll, and yaw. Pitch is up and down movement. Roll is side to side tilt.
Yaw is left and right pan. These three axes work together to make your footage smooth.
Many people think gimbals are only for pros. But that’s not true! They are designed to make filming easier for everyone.
Beginners often struggle with keeping their phone steady. This leads to videos that are hard to watch. A smart phone gimbal solves this problem right away.
It lets you focus on telling your story, not on how to hold your phone.
Benefits Of Using A Gimbal
The main benefit is super smooth video. Shaky clips can make viewers feel dizzy. A gimbal makes your videos look professional and polished.
It opens up new creative possibilities. You can do smooth tracking shots or cinematic pans. It also makes filming in challenging situations easier.
Think about walking on uneven ground or filming in a windy place.
Using a gimbal can really make your content stand out. Social media platforms favor high-quality video. Smooth footage gets more views and engagement.
It helps you tell your story more effectively. People will pay more attention to what you are showing them.
For example, imagine filming a child running. Without a gimbal, the video would be a blur. With a gimbal, you can follow them smoothly.
It captures the action clearly. Another example is filming a scenic walk. A gimbal makes the path look inviting and steady.
It allows the viewer to enjoy the scenery.
Choosing The Right Gimbal For You
There are many gimbals available. Some are very basic, while others have advanced features. For beginners, a simple, easy-to-use model is best.
Look for features like auto-balancing and simple controls. Some gimbals can fold up small, making them easy to carry.
Check the weight capacity of the gimbal. Make sure it can hold your specific phone. Battery life is also important.
You want a gimbal that lasts long enough for your filming needs. Reading reviews from other users can help you decide. Many popular brands offer great options for all budgets.
Getting Started With Your Smart Phone Gimbal
Setting up your smart phone gimbal might seem like a puzzle. But once you know the simple steps, it’s a breeze. We will guide you through balancing your phone and connecting it.
You’ll be ready to shoot in no time.
Balancing Your Phone On The Gimbal
Balancing is the most important step. It ensures your gimbal works correctly. First, attach your phone to the clamp.
Make sure it’s secure. Then, adjust the arms so your phone is centered. The phone should be able to stay level on its own when you unlock the motors.
This might take a few tries.
If your phone tilts too much in one direction, it’s not balanced. You need to shift the phone slightly in its clamp. Or, adjust the arm that the phone is on.
The goal is for the phone to rest gently in a neutral position. This helps the motors work less and saves battery.
Some gimbals have markings on the arms. These help you find the perfect balance point. For example, if your phone is heavier on one side, you might need to move it slightly to the left or right in the clamp.
If it’s leaning forward or backward, you adjust the arm length. It’s like tuning a musical instrument.
Connecting Your Gimbal To Your Phone
Most gimbals connect to your phone via Bluetooth. You’ll need to download the gimbal’s app. Open the app and follow the on-screen instructions.
It will usually guide you through pairing the gimbal. Once paired, the app lets you control the gimbal’s functions.
The app is also where you can often control your phone’s camera. This includes starting and stopping recording, taking pictures, and changing camera settings. Some apps even offer advanced shooting modes like time-lapses or panoramas.
Make sure your phone’s software is up to date for the best compatibility.
Basic Controls And Navigation
Your gimbal will have buttons for control. There’s usually a joystick to pan and tilt the camera. There’s a trigger button, often on the back, to re-center the camera or change modes.
A record button is also common. The app will let you customize some of these controls.
Learning these basic controls is key. Practice moving the joystick slowly. Try holding down the trigger to see what happens.
Experiment with different buttons. The app usually has a tutorial section. It explains what each button does.
Getting comfortable with these takes just a few minutes.
Let’s look at a simple scenario. You want to film yourself walking down a path. You’ll hold the gimbal.
Point the camera forward. Then, walk at a steady pace. The gimbal will keep the camera facing forward smoothly.
If you need to turn slightly, use the joystick. You can adjust the tilt to get the perfect angle.
Exploring Gimbal Shooting Modes
Smart phone gimbals offer various shooting modes. These modes help you achieve different visual effects. Knowing when to use each mode can elevate your videos.
Pan Follow Mode
This is a very common and useful mode. In pan follow mode, the gimbal’s motor keeps the camera level. It follows your left and right movements smoothly.
However, it won’t follow your up and down movements. This mode is great for walking shots or panning across a landscape.
Imagine you are filming a parade. You can hold the gimbal and walk alongside the parade. The camera will stay steady and follow your sideways movement.
You can look at different floats without the video shaking. This makes the viewer feel like they are part of the action.
A statistic from a video marketing study shows that videos with smoother camera movement are watched 25% longer. This highlights the importance of using modes like pan follow.
Lock Mode
In lock mode, the camera stays pointed in one direction. No matter how you move the gimbal, the camera stays fixed. This is useful for creating dramatic reveals or keeping a subject centered.
You might use this to pan slowly over a wide scene, keeping your phone pointed at one specific spot.
For instance, you could be filming a building. You want to show a specific detail on the side. You can lock the camera onto that detail.
Then, you can slowly walk around the building. The camera will stay focused on the detail you chose. This creates a very specific visual effect.
Another example: filming a speaker. You can lock the camera onto their face. Then, you can move around the room slightly.
The speaker stays perfectly in the frame. This can make the video feel very stable and professional.
Follow Mode
Follow mode is similar to pan follow but also tracks your up and down movements. This provides a more dynamic filming experience. It’s good for situations where you are moving around and need the camera to keep up with more complex movements.
This is the most common default setting for many gimbals.
Think about filming yourself skateboarding or biking. As you go up and down small hills or curbs, the follow mode will adjust. It keeps the horizon level and your subject in frame.
This makes the action sequence look fluid and exciting. It’s what most people imagine when they think of professional-looking action shots.
Sport Mode
Sport mode offers faster response times. The motors work harder to keep up with quick movements. This is ideal for fast-paced action.
If you are filming sports, like a soccer game or a car race, this mode is your best friend. It captures the speed and excitement effectively.
Some gimbals have a dedicated button for sport mode. You can quickly switch to it when the action heats up. Then, switch back when the pace slows down.
This allows for flexibility during your shoot. It’s like having a turbo boost for your camera.
Tips For Better Smart Phone Gimbal Videos
Using a smart phone gimbal is one step. Making truly great videos with it is another. Here are some tips to help you get the most out of your device.
Slow Down Your Movements
Even with a gimbal, jerky movements are noticeable. Practice moving slowly and deliberately. Smoothness is the goal.
Small, controlled movements look much better than fast, erratic ones. Imagine you are moving through water.
A good exercise is to practice walking with the gimbal. Try to make your steps as smooth as possible. Then, practice turning.
See how slowly you can turn while keeping the shot stable. This builds muscle memory for better filming.
Learn Your Gimbal’s Features
Don’t just stick to the basics. Explore all the features your gimbal offers. Many have time-lapse, slow-motion, or panorama modes.
Learn how to use them. Your app will be your guide here. Experiment with settings like exposure and focus.
For example, using the time-lapse feature can create stunning cityscape videos. Or, you can use slow-motion to capture a dramatic moment. Many gimbals can also do object tracking.
This is where the gimbal automatically follows a moving subject. That feature alone can make a huge difference.
Keep Your Gimbal Calibrated
Gimbals need to be calibrated occasionally. This means telling the gimbal to recognize its current position as neutral. Calibration ensures the motors work accurately.
Check your gimbal’s app for a calibration option. Usually, you’ll place the gimbal on a flat surface and start the process.
Calibration is especially important if the gimbal has been bumped or dropped. Or, if you notice the camera isn’t staying perfectly level. Consistent calibration leads to consistently smooth footage.
Some gimbals have automatic calibration when you turn them on.
Consider Lighting And Sound
A smooth video is only part of the story. Good lighting makes your footage look professional. Natural light is often best.
Position your subject so light falls on them nicely. Also, think about sound. Your phone’s microphone can pick up wind noise.
Consider using an external microphone for better audio quality. Especially if you are filming outdoors. Many gimbals have mounts for accessories like lights or microphones.
This makes them very versatile tools.
A survey of content creators found that 80% believe good lighting is as important as good camera work. Poor lighting can make even the smoothest video look amateurish.
Practice With Different Angles
Don’t be afraid to experiment with camera angles. Try shooting from a low angle, looking up. Or, try a high angle, looking down.
Gimbals make it easier to get unique perspectives. This can make your videos more engaging and visually interesting.
For instance, filming a pet from their eye level can be very charming. Or, filming from above can show the scale of a place. Practice moving the gimbal up and down while walking.
See what kind of dynamic shots you can create.
Common Myths Debunked
Myth 1: Gimbals Are Only For Professional Videographers
This is a very common myth. While professionals certainly use gimbals, they are designed for everyone. Today’s smart phone gimbals are user-friendly and affordable.
They make professional-looking footage accessible to hobbyists and social media users alike. You don’t need years of experience to use one.
Myth 2: All Gimbals Are The Same
Gimbals vary a lot in features and price. Some are simple and basic, while others have advanced controls, object tracking, and longer battery life. The best gimbal for you depends on your needs and budget.
There are compact travel gimbals and more feature-rich professional models.
Myth 3: You Can’t Use A Gimbal In The Wind
While strong winds can challenge any camera stabilizer, gimbals are surprisingly effective. Their motors work to counteract movement, including wind. However, extreme winds can still cause some shakiness.
Using a gimbal will always result in smoother footage than hand-holding in windy conditions. Some gimbals have wind-resistance settings.
Myth 4: Gimbals Ruin Battery Life
Gimbals do use battery power, both the gimbal itself and your phone’s battery. However, modern gimbals are designed for efficiency. Most can last for several hours on a single charge.
Also, when the gimbal is properly balanced, its motors work less, saving battery. Many users find the battery life sufficient for a day of filming.
Frequently Asked Questions
Question: How do I know if my phone is balanced on the gimbal
Answer: Your phone is balanced when it can stay still on its own when you tilt the gimbal. If it falls to one side, leans forward, or backward, it needs more adjustment in the clamp or on the arm.
Question: Do I need a special app for my smart phone gimbal
Answer: Yes, most smart phone gimbals require a companion app. This app connects to your gimbal via Bluetooth and allows you to control its features, camera settings, and shooting modes.
Question: Can I use my gimbal with a phone case on
Answer: In most cases, yes. However, very thick or heavy phone cases might affect the balance. It’s a good idea to test the balance with your case on.
Question: How long does a smart phone gimbal battery typically last
Answer: Battery life varies by model, but many gimbals can last between 8 to 15 hours on a full charge. This is usually enough for a full day of casual filming.
Question: What is the difference between a 2-axis and a 3-axis gimbal
Answer: A 3-axis gimbal offers more stability because it controls pitch, roll, and yaw. A 2-axis gimbal typically only controls pitch and roll, resulting in less stable footage, especially during horizontal movements.
Summary
You’ve learned how a smart phone gimbal smooths out your videos. We covered balancing, connecting, and using different shooting modes. Remember to move slowly and explore all the features.
With a little practice, your videos will look amazing.

