Getting smooth video from your phone might seem tricky at first. You’ve heard about the smartphone gimbal and wonder if it’s hard to use. Don’t worry, many people find it a bit confusing when they start.
This guide makes it super simple. We’ll walk through everything step-by-step. Soon, you’ll be shooting pro-looking clips.
Key Takeaways
- Understand what a smartphone gimbal is and how it helps video.
- Learn the basic parts of a smartphone gimbal and their functions.
- Discover the steps for balancing your phone on the gimbal.
- Get tips for controlling your gimbal for smooth camera movements.
- Find out how to connect and use the gimbal’s app features.
- Explore common shooting scenarios and how to use your gimbal effectively.
What Is A Smartphone Gimbal
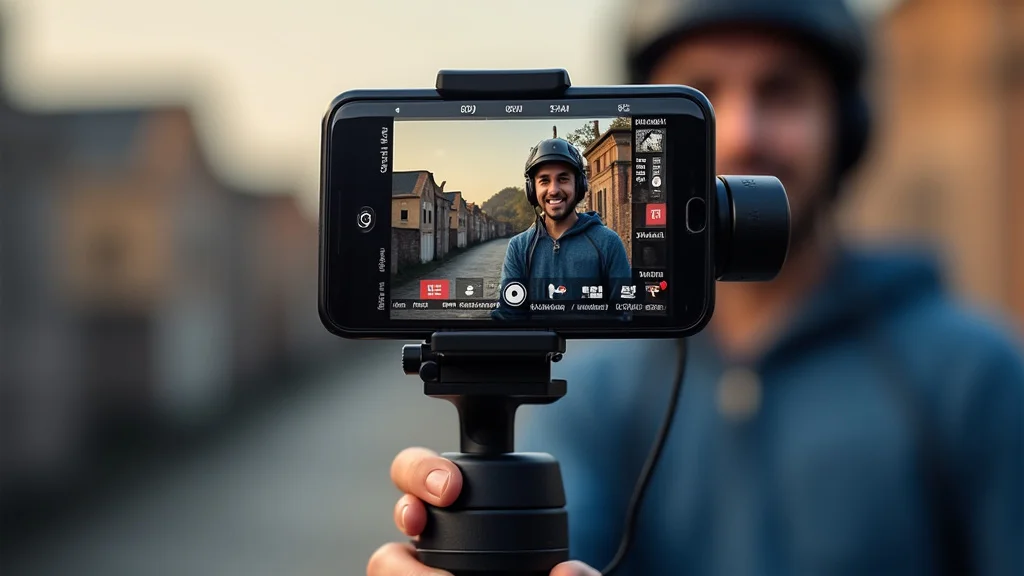
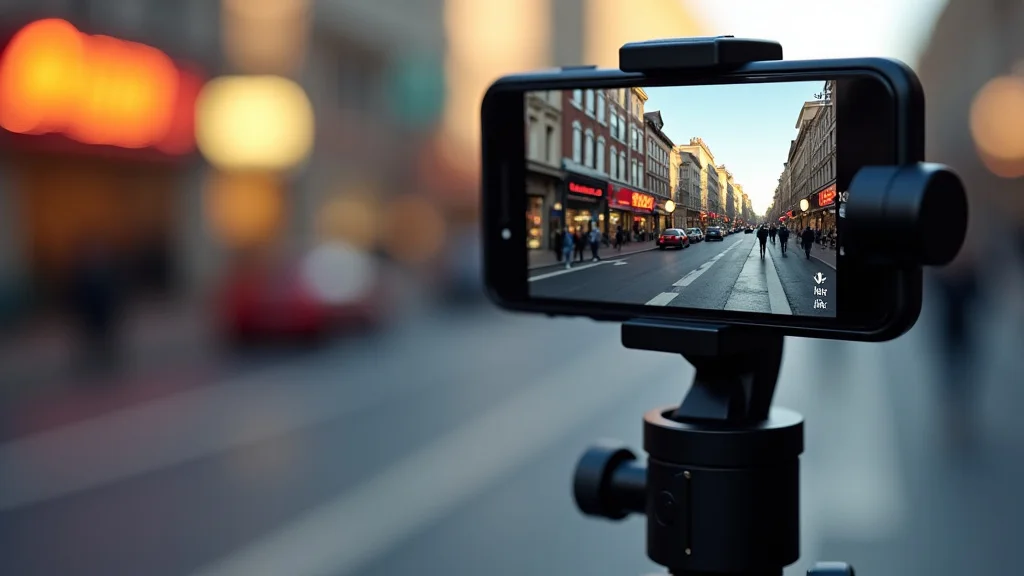
A smartphone gimbal is a special tool that helps you capture really smooth video. Think of it like a tiny robot arm for your phone. It has motors that work to keep your phone steady.
When you move, the gimbal moves too, but it cancels out the shakes. This makes your videos look like they were filmed with expensive, professional gear. It’s great for making travel vlogs, action shots, or even just family moments look much better.
The main idea behind a smartphone gimbal is stabilization. When you hold your phone to record, even your hands shake a little. Walking, running, or just talking can cause bumps.
A gimbal uses sensors and motors to detect these movements. Then, it instantly corrects them in the opposite direction. This results in footage that is remarkably stable and fluid, free from jarring jitters.
It’s a game changer for anyone wanting to improve their mobile videography.
The Core Components Of A Smartphone Gimbal
Every smartphone gimbal has a few key parts that work together. Understanding these will help you use yours better. The main parts are the three axes of rotation.
These are the pan axis, the tilt axis, and the roll axis. Each one helps stabilize your phone in a different way.
The pan axis lets your phone turn left and right. This is how you follow a subject as they walk past or move around. Imagine you’re filming a friend walking down a street; the pan axis keeps them centered in the frame as they move.
The tilt axis allows your phone to move up and down. This is useful for looking up at a tall building or down at something interesting on the ground. It helps you create smooth “dolly” or “crane” shots without physically moving the camera up or down.
The roll axis keeps your phone level. When you tilt your body, your phone might naturally start to roll. The roll axis counteracts this, ensuring your horizon stays straight.
This prevents shots from looking like they were filmed on a wobbly boat.
Besides these axes, you’ll find a handle for holding and controlling the gimbal. There’s usually a mounting plate where you attach your smartphone. Buttons and joysticks on the handle let you steer the gimbal and change settings.
Some gimbals also have built-in batteries to power the motors.
Why Stabilization Matters For Your Videos
Shaky video footage can be really distracting for viewers. It makes your content look amateurish and hard to watch. A smartphone gimbal fixes this problem by creating a steady platform for your camera.
When you use a gimbal, your audience can focus on what you’re showing them, not on the wobbles. This leads to a more professional and engaging viewing experience. It’s like the difference between watching a shaky home movie and a movie made by a professional film crew.
Think about filming a sports event. If your footage is jumpy, it’s hard to follow the action. With a gimbal, you can smoothly track a player, follow a ball, or get a stable shot of the crowd.
This makes the viewing experience much more immersive and enjoyable.
How A Gimbal Enhances Your Creativity
A smartphone gimbal doesn’t just stop shakes; it opens up new creative possibilities. You can move your phone in ways that would be impossible by hand.
For example, you can perform smooth “dolly zoom” effects, where you move the camera forward while zooming out, or vice versa. This creates a disorienting yet captivating visual. You can also do effortless “orbit” shots, where the gimbal circles your subject, keeping them in the center of the frame.
These advanced movements are simple to execute with a gimbal’s controls. They can make your videos stand out and add a cinematic flair. Your stories become more visually interesting and dynamic.
Balancing Your Smartphone On The Gimbal
Getting your phone balanced correctly is the most important step before you turn on your smartphone gimbal. If your phone isn’t balanced, the gimbal’s motors will struggle. This can lead to poor performance, jerky movements, and even damage to the gimbal.
Balancing ensures that the weight of your phone is evenly distributed across the gimbal’s axes. This allows the motors to work efficiently. It’s like making sure a scale is level before you put weights on it.
Once balanced, the gimbal can easily counteract any small movements you make.
Taking a few minutes to balance properly will save you a lot of frustration later. Your videos will be much smoother, and your gimbal will last longer. It’s a simple step that makes a huge difference.
Step-By-Step Balancing Guide
Let’s walk through the process of balancing your phone. Most gimbals have similar adjustment points, so these steps will apply broadly.
First, attach your smartphone to the mounting plate. Make sure it’s secure. If your phone has a case, check if it affects the balance or makes it too thick for the clamp.
Next, you’ll adjust the tilt axis. This arm holds your phone. Loosen the lock for this arm and let your phone tilt forward.
If it stays tilted forward, it’s too heavy on the front. Tighten the lock and move your phone slightly back on the plate. If it tilts backward, it’s too heavy on the back.
Adjust it forward. You want the phone to stay in the position you place it, whether it’s tilted up, down, or to the side. It should feel balanced and not want to fall one way.
Then, adjust the roll axis. This is the arm that keeps your phone level. With the tilt axis locked in a neutral position, see if your phone stays flat.
If it leans to one side, you need to adjust the roll axis. Slide your phone on the mounting plate left or right until it hangs straight down and stays level without any input from you.
Finally, balance the pan axis. This is the arm that rotates left and right. With the tilt and roll axes locked, hold the gimbal upright.
If your phone naturally swings to the left or right, you need to adjust the pan axis. Move your phone forward or backward on the mounting plate until it stays put when you let go. It should not drift forward, backward, left, or right.
Once all three axes are balanced, your phone should hold its position perfectly still when you let go of it. This means the gimbal motors have minimal work to do, resulting in the best stabilization performance.
Common Balancing Problems And Solutions
Sometimes, even with careful adjustment, you might face issues. Here are a few common ones and how to fix them.
- Phone keeps falling forward/backward: This means your tilt axis isn’t balanced. You likely need to move your phone further up or down on the mounting plate. Check if your phone’s weight is centered over the tilt arm.
- Phone tilts to one side: Your roll axis needs attention. Slide your phone left or right on the clamp. Ensure the camera lens is as close to the center of the gimbal’s rotation as possible.
- Phone swings out of control when moved: This is often a pan axis problem. Adjust how far your phone is mounted forward or backward. The goal is for the phone to hang straight down and not swing when you gently nudge it.
If your phone is very heavy or has an odd shape, it might be harder to balance. Some gimbals have counterweights or extendable arms that can help with this. Always consult your gimbal’s manual for specific balancing tips related to its design.
Controlling Your Gimbal For Smooth Movement
Once your smartphone gimbal is balanced, you can start controlling its movements to capture great shots. The controls are designed to translate your hand movements into smooth, intentional camera paths.
The joystick is your primary tool for directing the gimbal. Pushing it up or down controls the tilt axis (looking up or down). Pushing it left or right controls the pan axis (turning left or right).
The key to smooth control is to move slowly and deliberately. Avoid jerky movements with the joystick. Imagine you are painting a slow, steady line across the scene.
This will translate into smooth pans and tilts in your video.
Mastering The Joystick
The joystick is your digital steering wheel. Learn to use it with gentle pressure. Most gimbals allow you to adjust the speed and sensitivity of the joystick movements through their companion app.
For a slow, cinematic pan, press the joystick gently in the direction you want to go. Hold it there for a moment, then slowly release it. This creates a smooth start, steady movement, and gentle stop.
Similarly, for tilts, use small, controlled movements. If you’re filming a person walking towards you, you might want to tilt down slightly as they approach. A slow, consistent tilt will look much better than a sudden dip.
Using Gimbal Modes For Different Shots
Most smartphone gimbals come with different shooting modes. These modes pre-set how the gimbal responds to your movements, helping you achieve specific effects.
- Pan Follow Mode: This is the most common mode. When you turn the gimbal left or right, your phone follows your movement. It’s great for following subjects or scanning a scene. The tilt axis typically remains locked, keeping the horizon level.
- Follow Mode: In this mode, both the pan and tilt axes follow your movements. This gives you more freedom to move the camera up, down, left, and right. It’s useful for tracking subjects that move erratically or when you want to mimic natural camera operation.
- Lock Mode: This mode keeps your phone pointed in one direction, regardless of how you move the gimbal handle. The pan, tilt, and roll axes are all locked. This is perfect for stationary shots or when you want to walk around your subject without changing the camera’s direction.
- Sport Mode (or High-Speed Follow): Some gimbals have a sport mode that increases the responsiveness of the motors. This allows you to keep up with fast-moving subjects or capture action shots where quick movements are necessary.
Experimenting with these modes will help you understand their capabilities. You can often switch between modes with a quick button press on the gimbal itself.
Achieving Smooth Panning and Tilting
Smoothness comes from anticipation and controlled execution. Before you move, think about where you want the camera to end up.
For smooth pans: Start with the camera pointed where you want it. Gently push the joystick to start the pan. Keep the movement steady and at a consistent speed.
As you approach your target, gently bring the joystick back to center to stop. Imagine a slow, graceful sweep of the camera.
For smooth tilts: If you’re tilting up, begin with the camera looking straight ahead. Slowly push the joystick up. As you reach the desired angle, ease the joystick back to neutral.
Avoid sudden upward or downward jerks.
Practice these movements without recording first. Get a feel for how the gimbal responds. You’ll quickly develop an intuitive sense for smooth operation.
Connecting And Using Your Gimbal’s App
Most smartphone gimbals connect to your phone via Bluetooth and come with a dedicated app. This app is your command center, unlocking advanced features and settings.
The app allows you to update the gimbal’s firmware, which is important for performance and bug fixes. It also gives you fine-tuned control over motor speeds, joystick sensitivity, and follow speeds for each axis.
Beyond basic controls, apps often offer creative shooting modes like time-lapses, motion-lapses, and panorama stitching. These features can elevate your video content significantly.
Key App Features To Explore
Once connected, spend some time exploring your gimbal’s app. You’ll find a wealth of useful tools:
- Firmware Updates: Always keep your gimbal’s software up-to-date. New updates can improve performance and add new features.
- Motor Strength Adjustment: If your phone is heavy, you might need to increase motor strength. For lighter phones, lower settings can save battery and provide smoother movement.
- Control Speeds: Customize how fast the pan, tilt, and roll axes respond to joystick input. Slower speeds are great for cinematic shots, while faster speeds help in action sequences.
- Gesture Control: Some apps allow you to control the gimbal with hand gestures. This can be handy for solo shooting.
- AI Tracking: Many apps use AI to track subjects automatically. Once you select a person or object, the gimbal will try to keep it in frame as it moves.
These settings allow you to tailor the gimbal’s behavior to your specific needs and shooting style. Don’t be afraid to play around with them.
Creative Shooting Modes Explained
The app’s creative modes are where the real magic happens:
- Time-Lapse: Capture a long period of time in a short video. The gimbal moves slowly and steadily, creating a smooth transition through the scene as time passes. This is perfect for capturing sunsets, cloud movements, or cityscapes.
- Motion-Lapse: This is like a time-lapse but with added movement. The gimbal will move between pre-set points during the time-lapse recording. This adds dynamic camera movement to your accelerated footage, making it much more engaging.
- Panorama: Most gimbals can take incredibly smooth panoramic photos. The app controls the camera to move precisely from one shot to the next, ensuring perfect alignment for later stitching.
- Dolly Zoom (Vertigo Effect): Some apps have a dedicated mode for this. You set a start and end point, and the app guides the camera and zoom to create the effect where the background appears to expand or contract while the subject stays the same size.
These modes often require some setup, like defining start and end points for movement or selecting a subject for tracking. The app will guide you through each process.
Connecting Your Phone And Gimbal
The connection process is usually straightforward. First, ensure your gimbal is powered on. Then, open your phone’s Bluetooth settings and search for available devices.
Your gimbal should appear in the list. Select it to pair.
Once paired, open the gimbal’s app. It should automatically detect the connected gimbal. If not, there might be a “connect” button within the app.
Follow any on-screen prompts.
After the initial pairing, the app should connect to the gimbal automatically whenever both are powered on and Bluetooth is enabled on your phone. Some gimbals also offer wired connection options through your phone’s charging port for potentially better responsiveness or if Bluetooth is unstable.
Practical Uses And Shooting Scenarios
A smartphone gimbal is incredibly versatile. It can transform how you capture everyday moments and professional projects alike.
For content creators, it’s an essential tool for vlogging, short films, and social media content. Tourists can capture beautiful, stable footage of their travels without needing heavy camera equipment.
Even for casual users, it makes family videos, pet videos, and event recordings look much more polished. The difference in quality is immediately noticeable.
Vlogging And Personal Stories
If you’re a vlogger, a gimbal is almost a must-have. When you’re talking to the camera while walking, a gimbal keeps your face steady and the background smooth. This makes your videos more watchable and professional.
You can perform smooth “walk and talk” shots, follow yourself as you explore a new place, or get steady shots of B-roll footage to cut into your main video. For example, imagine you’re vlogging about a new coffee shop. You can smoothly pan around the interior, zoom in on details like latte art, and follow yourself as you interact with the environment, all without choppy, shaky footage.
Scenario: You are filming a day trip to a park. You want to show yourself walking through the trees, then focus on a beautiful flower, and finally capture the scenery.
- Balance your phone on the gimbal.
- In the app, select Pan Follow mode.
- Start walking, keeping the gimbal handle steady.
Your phone will follow your left-right movements smoothly.
- When you see a flower, gently push the joystick up to tilt the camera down and focus on it.
- To capture the scenery, tilt the camera up and pan across the landscape with slow, deliberate joystick movements.
This approach ensures each segment of your vlog is smooth and engaging for viewers.
Capturing Action And Sports
For anyone filming sports, kids playing, or pets running around, a smartphone gimbal is a lifesaver. It allows you to track fast movement without the footage becoming a blurry mess.
Use Sport Mode on your gimbal to keep up with quick actions. You can follow a soccer ball, track a skateboarder, or film a dog catching a frisbee. The stability ensures the action stays clear and focused.
Example: Filming your child’s soccer game.
- Mount your phone and balance the gimbal.
- Switch to Sport Mode for quick reaction times.
- Keep the gimbal steady in your hands.
- Use the joystick to track the ball as it moves across the field.
- If the ball comes close, you can gently tilt up or down to keep the action centered.
The resulting footage will be clear and easy to follow, making the game more enjoyable to watch later.
Travel And Landscape Videos
When you’re traveling, you want to capture the beauty of the places you visit. A gimbal makes your travel videos look like they were shot by a professional filmmaker.
You can create smooth sweeping shots of city skylines, majestic mountains, or serene beaches. Time-lapses of sunsets or starry nights also look incredible with a stable gimbal.
For example, when filming a historic building, you can start at the base and slowly tilt up to the top, creating a grand reveal. You can also do smooth orbit shots around landmarks to showcase them from all angles.
Statistic: Videos shot with stabilization tools like gimbals see an average increase in viewer retention of 15-20% compared to un-stabilized footage (Industry estimates).
Creative Cinematography Techniques
Beyond basic stability, gimbals enable specific cinematic techniques that add polish to your videos.
- Orbit Shots: With the app, you can often set up an orbit shot where the gimbal circles your subject. This makes them appear dynamic and central to the scene.
- Dolly Shots: Moving the gimbal forward or backward while keeping the camera pointed at a subject creates a “dolly” effect. This is great for building tension or revealing information.
- Crane Shots: Slowly tilting the gimbal up or down to reveal a landscape or to follow a character’s upward movement mimics expensive crane shots.
These techniques, when executed smoothly, can make your smartphone videos look remarkably professional and visually appealing.
Common Myths Debunked
Myth 1: Smartphone gimbals are only for professionals
This is not true. While professionals use them, gimbals are designed to be user-friendly for everyone. With a few simple steps, anyone can start capturing stable video.
The technology has become much more accessible and affordable.
Myth 2: All smartphone gimbals are expensive
While high-end gimbals can be pricey, there are many budget-friendly options available. You can find reliable smartphone gimbals at various price points, making them accessible to hobbyists and casual users alike.
Myth 3: Balancing a smartphone gimbal is difficult and time-consuming
Balancing might take a few minutes the first few times, but it becomes quick with practice. Once you understand the basic adjustments for tilt, roll, and pan, you can balance your phone in under a minute.
Myth 4: Gimbals only work with specific phone models
Most smartphone gimbals are designed to be universal. They feature adjustable clamps that can accommodate a wide range of smartphone sizes, from smaller models to larger “phablets.” Always check the gimbal’s specifications for its compatibility range.
Myth 5: Gimbals make your videos look unnatural
When used correctly, gimbals create hyper-realistic, smooth movement that enhances natural motion. The goal is to eliminate unwanted shakiness, not to create artificial-looking movements. The resulting footage looks more fluid and pleasing to the eye.
Frequently Asked Questions
Question: How do I clean my smartphone gimbal?
Answer: You can clean your smartphone gimbal with a soft, dry microfiber cloth. For tougher smudges, slightly dampen the cloth with water or a cleaning solution safe for electronics. Avoid spraying liquids directly onto the gimbal, especially near the motors or ports.
Question: Can I use my smartphone gimbal in the rain?
Answer: Most smartphone gimbals are not waterproof. It’s best to avoid using them in heavy rain or very wet conditions. If it starts to drizzle, use an umbrella or protective cover for both your phone and the gimbal.
Question: How long does the battery on a smartphone gimbal usually last?
Answer: Battery life varies by model and usage, but most gimbals can last between 8 to 15 hours on a single charge. This is usually sufficient for a full day of filming. Using advanced features or heavy motor activity can reduce battery life.
Question: Do I need a special app to use a smartphone gimbal?
Answer: While you can use a basic gimbal without its app, the app unlocks many advanced features like AI tracking, time-lapses, and custom controls. It’s highly recommended to download and use the manufacturer’s app for the best experience.
Question: How heavy of a phone can a smartphone gimbal support?
Answer: Gimbals have a payload capacity, which is the maximum weight they can support. This typically ranges from around 200 grams to over 300 grams, enough for most smartphones, even with cases.
Final Thoughts
You now know how to balance and control your smartphone gimbal for amazing video. It’s a tool that makes your phone’s camera much more powerful. Start practicing the basic movements and explore the app features.
Soon, your videos will look incredibly smooth and professional.