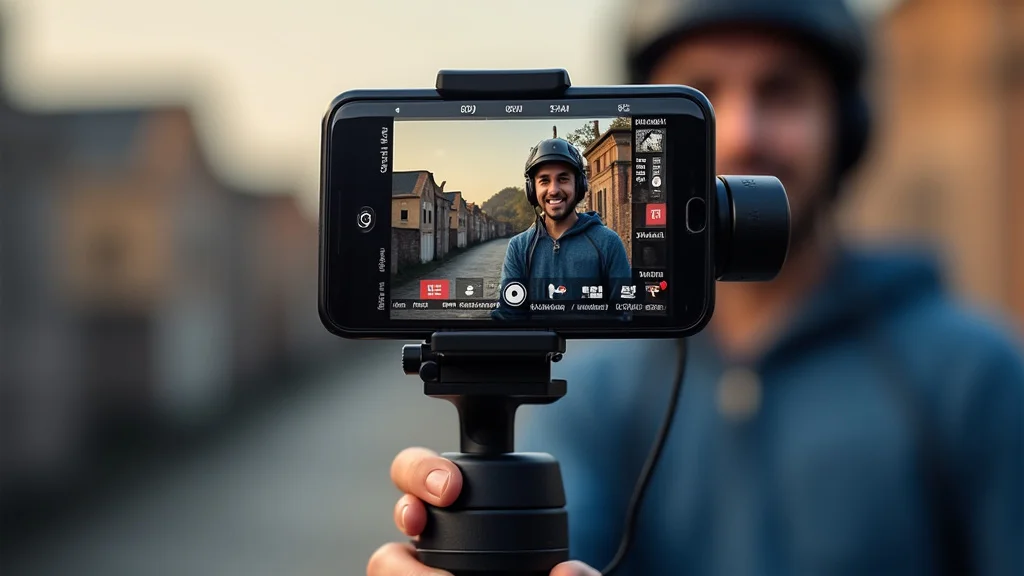
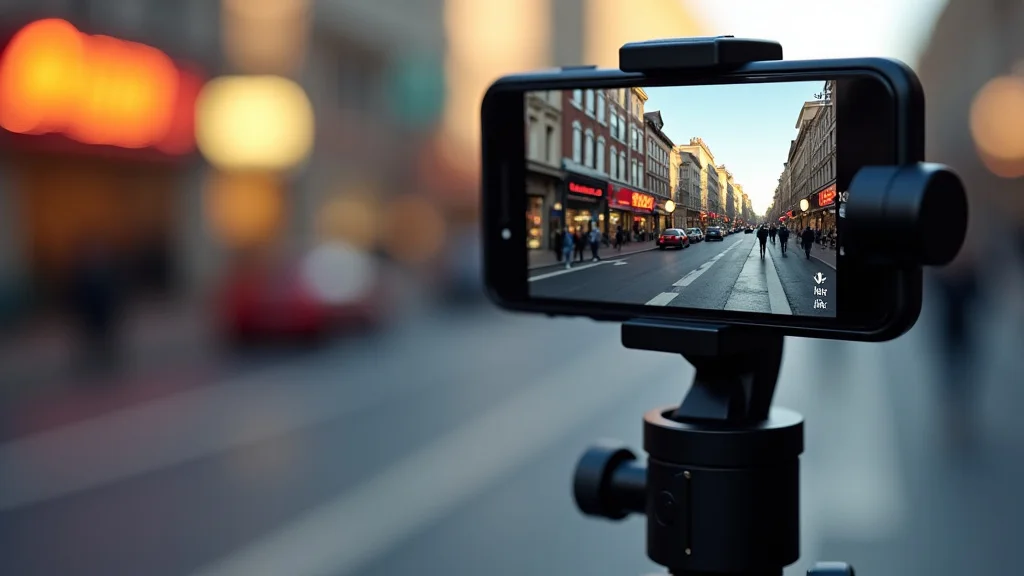
Getting a gimbal for your smart phone can feel a little tricky at first. You see all these smooth, steady videos online and wonder how they do it. It looks complicated, right?
But don’t worry! It’s easier than you think. We’ll walk through it step-by-step.
This guide makes using a gimbal for smart phone simple. Let’s get your videos looking great!
Key Takeaways
- You will learn what a gimbal is and why it is useful for smartphone videos.
- Discover the different types of gimbals and which features matter most.
- Understand how to set up and balance your phone on a gimbal.
- Learn basic techniques for smooth shooting with your gimbal.
- Find out common issues and how to fix them.
What Is A Smart Phone Gimbal And Why You Need One
A smart phone gimbal is a device that helps you film super steady videos. Think about holding your phone to record something moving. Your hands shake a little, and the video looks wobbly.
A gimbal uses motors and sensors to fight against those shakes. It keeps your phone level and smooth, even when you walk or move around. This makes your videos look professional and much nicer to watch.
If you want your phone videos to look amazing without a lot of effort, a gimbal is a great tool. It’s perfect for capturing memories, making social media content, or even starting a vlog.
How A Gimbal Works
A gimbal works by using special motors to counteract any unwanted movement. It has sensors that detect when your phone tilts, pans, or rolls. These sensors send signals to the motors.
The motors then move in the opposite direction to keep the phone steady. It’s like having a tiny robot helper for your camera! This system is very precise.
It can smooth out even quick movements.
The main parts of a gimbal are the motors, sensors, and the frame that holds your phone. The frame usually has arms that can rotate. These arms are controlled by the motors.
Your phone attaches to a mount, often on a central arm. The gimbal is powered by batteries, so you can use it anywhere.
Benefits Of Using A Smart Phone Gimbal
Using a gimbal makes your videos look much better. Shaky footage can be hard to watch. Smooth footage is pleasing to the eye.
It makes your videos feel more professional. This is especially important for things like vlogs, travel videos, or even just recording family events. People pay more attention to videos that are easy to see.
Another big benefit is creative freedom. You can run, jump, or walk down stairs while filming, and the gimbal will keep the shot stable. This allows for dynamic camera movements that would be impossible otherwise.
It opens up new ways to tell stories with your videos.
Also, many gimbals have special features. These include things like object tracking, where the gimbal follows a person or item. Some can create smooth time-lapses or panoramas.
These features add a lot of value for content creators.
Who Can Benefit From A Gimbal
Anyone who records videos on their smart phone can benefit. This includes parents wanting to capture clear videos of their kids. Travelers recording their adventures can get cinematic shots of landscapes and cities.
Social media influencers use them to make their content stand out. Small businesses can use them to create better product videos or promotional material. Even amateur filmmakers can achieve a professional look.
It’s a tool for anyone who wants to improve their mobile videography.
Choosing The Right Gimbal For Your Needs
When you start looking for a gimbal for your smart phone, you’ll find many options. It’s good to know what makes one different from another. This helps you pick the best one for what you want to do with your videos.
Think about how you’ll use it most often. This will guide you to the right features.
Types Of Smart Phone Gimbals
There are a few main types of gimbals. The most common is the handheld 2-axis or 3-axis gimbal. A 2-axis gimbal controls tilt and roll, which handles up and down and side-to-side shakes.
A 3-axis gimbal adds pan control, which handles left and right shakes as well. For most people, a 3-axis gimbal is best because it offers the most stabilization.
Some gimbals are designed for specific phones. Others are more universal and can fit a wide range of devices. There are also larger gimbals that can hold heavier cameras, but for a smart phone, the smaller ones are usually perfect.
Key Features To Look For
When choosing a gimbal, pay attention to a few key things. First, check how many axes it has. As mentioned, 3-axis is generally better.
Next, look at the battery life. You want a gimbal that can last for your filming sessions. Some gimbals can also charge your phone while you use them, which is very handy.
Consider the weight and portability. Will it be easy to carry around? Does it fold up nicely?
Also, check what control options it has. Does it have a joystick to manually move the camera? Does it connect to your phone via Bluetooth for more control?
Compatibility with your phone model is also important. Make sure it can hold your phone securely.
Budget And Brand Considerations
Gimbals can range in price. You can find very affordable options for under $100, and high-end models can cost several hundred dollars. For beginners, starting with a more budget-friendly option is often a good idea.
You can always upgrade later if you find you need more advanced features.
Many brands make smart phone gimbals. DJI is a very popular and reputable brand known for its quality products. Zhiyun and Moza are other excellent options.
Reading reviews can help you decide which brand might be best for you and your budget.
Setting Up And Balancing Your Smart Phone Gimbal
Getting your gimbal ready to use is a crucial first step. If your phone isn’t balanced properly, the gimbal won’t work as well. It might struggle to keep the footage stable.
It might also drain the battery faster. Taking a few minutes to balance correctly makes a big difference in your video quality.
Unpacking And Initial Assembly
When you first get your gimbal, carefully unpack everything. You’ll usually find the gimbal itself, a charging cable, and maybe a small manual or wrist strap. Some gimbals come with a carrying case, which is great for protection and travel.
Look for any small parts or screws. Most gimbals are ready to go with minimal assembly. You might need to attach a clamp or extend a handle.
Make sure the gimbal is charged before you start. Plug it into a power source using the provided cable. Most gimbals have an indicator light to show when they are charging and when they are full.
It’s better to start with a full battery so you can film longer.
Mounting Your Smart Phone
The next step is to attach your smart phone to the gimbal. Most gimbals have a clamp that you slide your phone into. Gently open the clamp wide enough to fit your phone.
Then, place your phone in the clamp and close it securely. Ensure your phone is centered as much as possible in the clamp.
It’s often a good idea to remove your phone case if it’s very bulky. Some cases can interfere with balancing or make the phone too thick for the clamp. If your case is slim and doesn’t add much weight, you can usually leave it on.
Just check that it doesn’t prevent the phone from sitting flat.
The Balancing Process Explained
Balancing is the most important part of setup. You need to make sure your phone is balanced on all axes. This means when you unlock the gimbal’s arms, your phone should stay in the position you place it.
It shouldn’t naturally tilt down or to the side.
Most gimbals have locks on their arms. Start by unlocking the tilt axis. Adjust your phone in the clamp until it stays level when you let go.
Then, unlock the roll axis. Adjust it until the phone doesn’t lean to one side. Finally, unlock the pan axis.
You might need to adjust the phone’s position slightly forward or backward in the clamp to get this right. Once balanced, re-lock the arms before turning on the gimbal. This protects the motors.
Why is balancing so important? A balanced gimbal uses less power. The motors don’t have to work as hard to keep the phone steady.
This means longer battery life. It also results in smoother footage because the motors can react more effectively to movements. An unbalanced gimbal can cause jerky movements, motor overheating, or even damage to the gimbal.
Balancing Example
Imagine you place your phone on the gimbal mount. When you let go, the screen immediately faces the ground. This means it’s too heavy on the bottom.
You need to slide your phone up in the clamp until it stays horizontal. Or, if the phone consistently leans to the right, you need to adjust its position left or right within the clamp. The goal is a neutral state where the phone stays put.
Mastering Smooth Gimbal Shooting Techniques
Once your gimbal is set up and balanced, it’s time to start filming! Getting smooth footage with a gimbal isn’t just about the technology; it’s also about how you move. With a little practice, you can create professional-looking shots.
Think about how you walk and move your arms.
Basic Movement And Control
The simplest way to get smooth video is to walk slowly and steadily. Try to keep your steps light. Imagine you have an egg under each foot that you don’t want to break.
Bend your knees slightly. This acts like a natural shock absorber. It helps your body absorb bumps from the ground.
Use the joystick on your gimbal to make gentle camera movements. For pans, move the joystick slowly to the left or right. For tilts, move it up or down.
Avoid quick, jerky movements. The slower and smoother your inputs, the smoother the resulting footage will be. Practice these basic movements in a quiet space before trying them out in a busy environment.
Common Shooting Scenarios And Tips
Let’s look at a few common situations and how to shoot them with your gimbal.
- Walking Shots When walking, keep your body relaxed. As mentioned, bend your knees. Don’t look down at your phone screen too much; focus on where you are going and try to walk in a straight line. If you need to turn, do it with a slow, wide arc.
- Tracking Shots If you want to follow someone or something, try to keep a consistent distance. Use the object tracking feature if your gimbal has it, or manually pan and tilt to keep your subject in frame. Move at a pace that matches your subject.
- Dolly Shots To create a “dolly” effect (moving the camera forward or backward), simply walk forward or backward while keeping the camera pointed in a consistent direction. A smooth walk is key here.
These scenarios show how a gimbal can really improve your videography. The key is always smooth, controlled movements.
Advanced Gimbal Features
Many modern gimbals offer advanced features that can add a lot to your videos.
- Object Tracking This feature uses your phone’s camera to identify and follow a specific subject. You select the subject on your screen, and the gimbal automatically keeps it in the center of the frame. This is incredibly useful for filming people, pets, or moving objects without you having to constantly adjust the camera. For instance, you could film your child playing sports and the gimbal would keep them in focus.
- Time-lapse and Hyperlapse Gimbals can create smooth time-lapses by moving the camera slowly over a period of time. Hyperlapse takes this further by allowing you to move the gimbal between shots, creating a dynamic, moving time-lapse. This is great for showing changes over time, like clouds moving across the sky or traffic in a city.
- Panorama Mode Most gimbals can automatically stitch together multiple photos to create a wide panoramic image. This is much easier and smoother than trying to do it by hand.
Using these features can elevate your content. They make complex shots accessible even to beginners.
Maintaining Smoothness In Challenging Conditions
Filming in windy conditions or on uneven terrain can be tough. For wind, try to block the wind with your body as much as possible. Some gimbals have settings that can adjust motor strength to compensate for wind.
On uneven ground, your steps will be less predictable. Focus on taking smaller, more controlled steps. Try to maintain a consistent rhythm.
If the ground is very rough, it might be better to slow down significantly or even stop and re-stabilize. Sometimes, the best shot comes from patience.
Common Myths Debunked
Myth 1: Gimbals Are Only For Professional Videographers
This is not true. While professionals use them, gimbals are incredibly accessible for anyone. Many are designed for ease of use and have intuitive controls.
Their main purpose is to make good video easy for everyone. If you have a smartphone and want better video, a gimbal is for you.
Myth 2: You Need To Be Strong To Use A Gimbal
Most smart phone gimbals are lightweight. They are designed to be held comfortably for extended periods. The motors do the hard work of stabilizing the footage.
You just need to move smoothly. It’s more about technique than brute strength.
Myth 3: Gimbals Make All Videos Look The Same
A gimbal provides a stable base, but your creativity is what makes videos unique. You control the camera angles, the movement, and the subject. A gimbal helps you execute your creative vision more effectively.
It’s a tool, and like any tool, its output depends on the user.
Myth 4: Balancing A Gimbal Is Too Difficult
While balancing is an important step, it’s not difficult. Most gimbals have clear instructions and visual cues. Once you do it a few times, it becomes very quick.
The reward of smooth footage makes the effort worthwhile.
Frequently Asked Questions
Question: Can I use a gimbal with any smart phone
Answer: Most gimbals are designed to be universal and can fit a wide range of smart phones. Always check the gimbal’s specifications to ensure compatibility with your specific phone model, especially if you have a larger phone or one with a bulky case.
Question: How long does the battery on a smart phone gimbal last
Answer: Battery life varies between models, but most can last anywhere from 4 to 12 hours on a single charge. Factors like phone weight, motor activity, and continuous usage affect how long the battery truly lasts.
Question: Do I need an app to use a smart phone gimbal
Answer: Many gimbals have companion apps that unlock advanced features like object tracking, custom movement modes, and firmware updates. While you can usually use the basic stabilization functions without an app, the app greatly enhances the gimbal’s capabilities.
Question: Is it okay to leave my phone mounted on the gimbal when it’s off
Answer: It’s best to dismount your phone when the gimbal is powered off and not in use. Leaving it mounted can put unnecessary strain on the motors and potentially cause damage if the gimbal is bumped or moved accidentally.
Question: Can I record in portrait mode with a gimbal
Answer: Yes, many gimbals allow you to switch between landscape and portrait modes. You usually do this by adjusting how your phone is mounted in the clamp and sometimes by reconfiguring the gimbal arms.
Wrap Up
You now know how a gimbal for smart phone makes videos smooth. It’s about simple setup and smooth movements. Balancing is key, and practice makes perfect.
Enjoy creating your steady, professional-looking videos with your new tool.